April Transitions
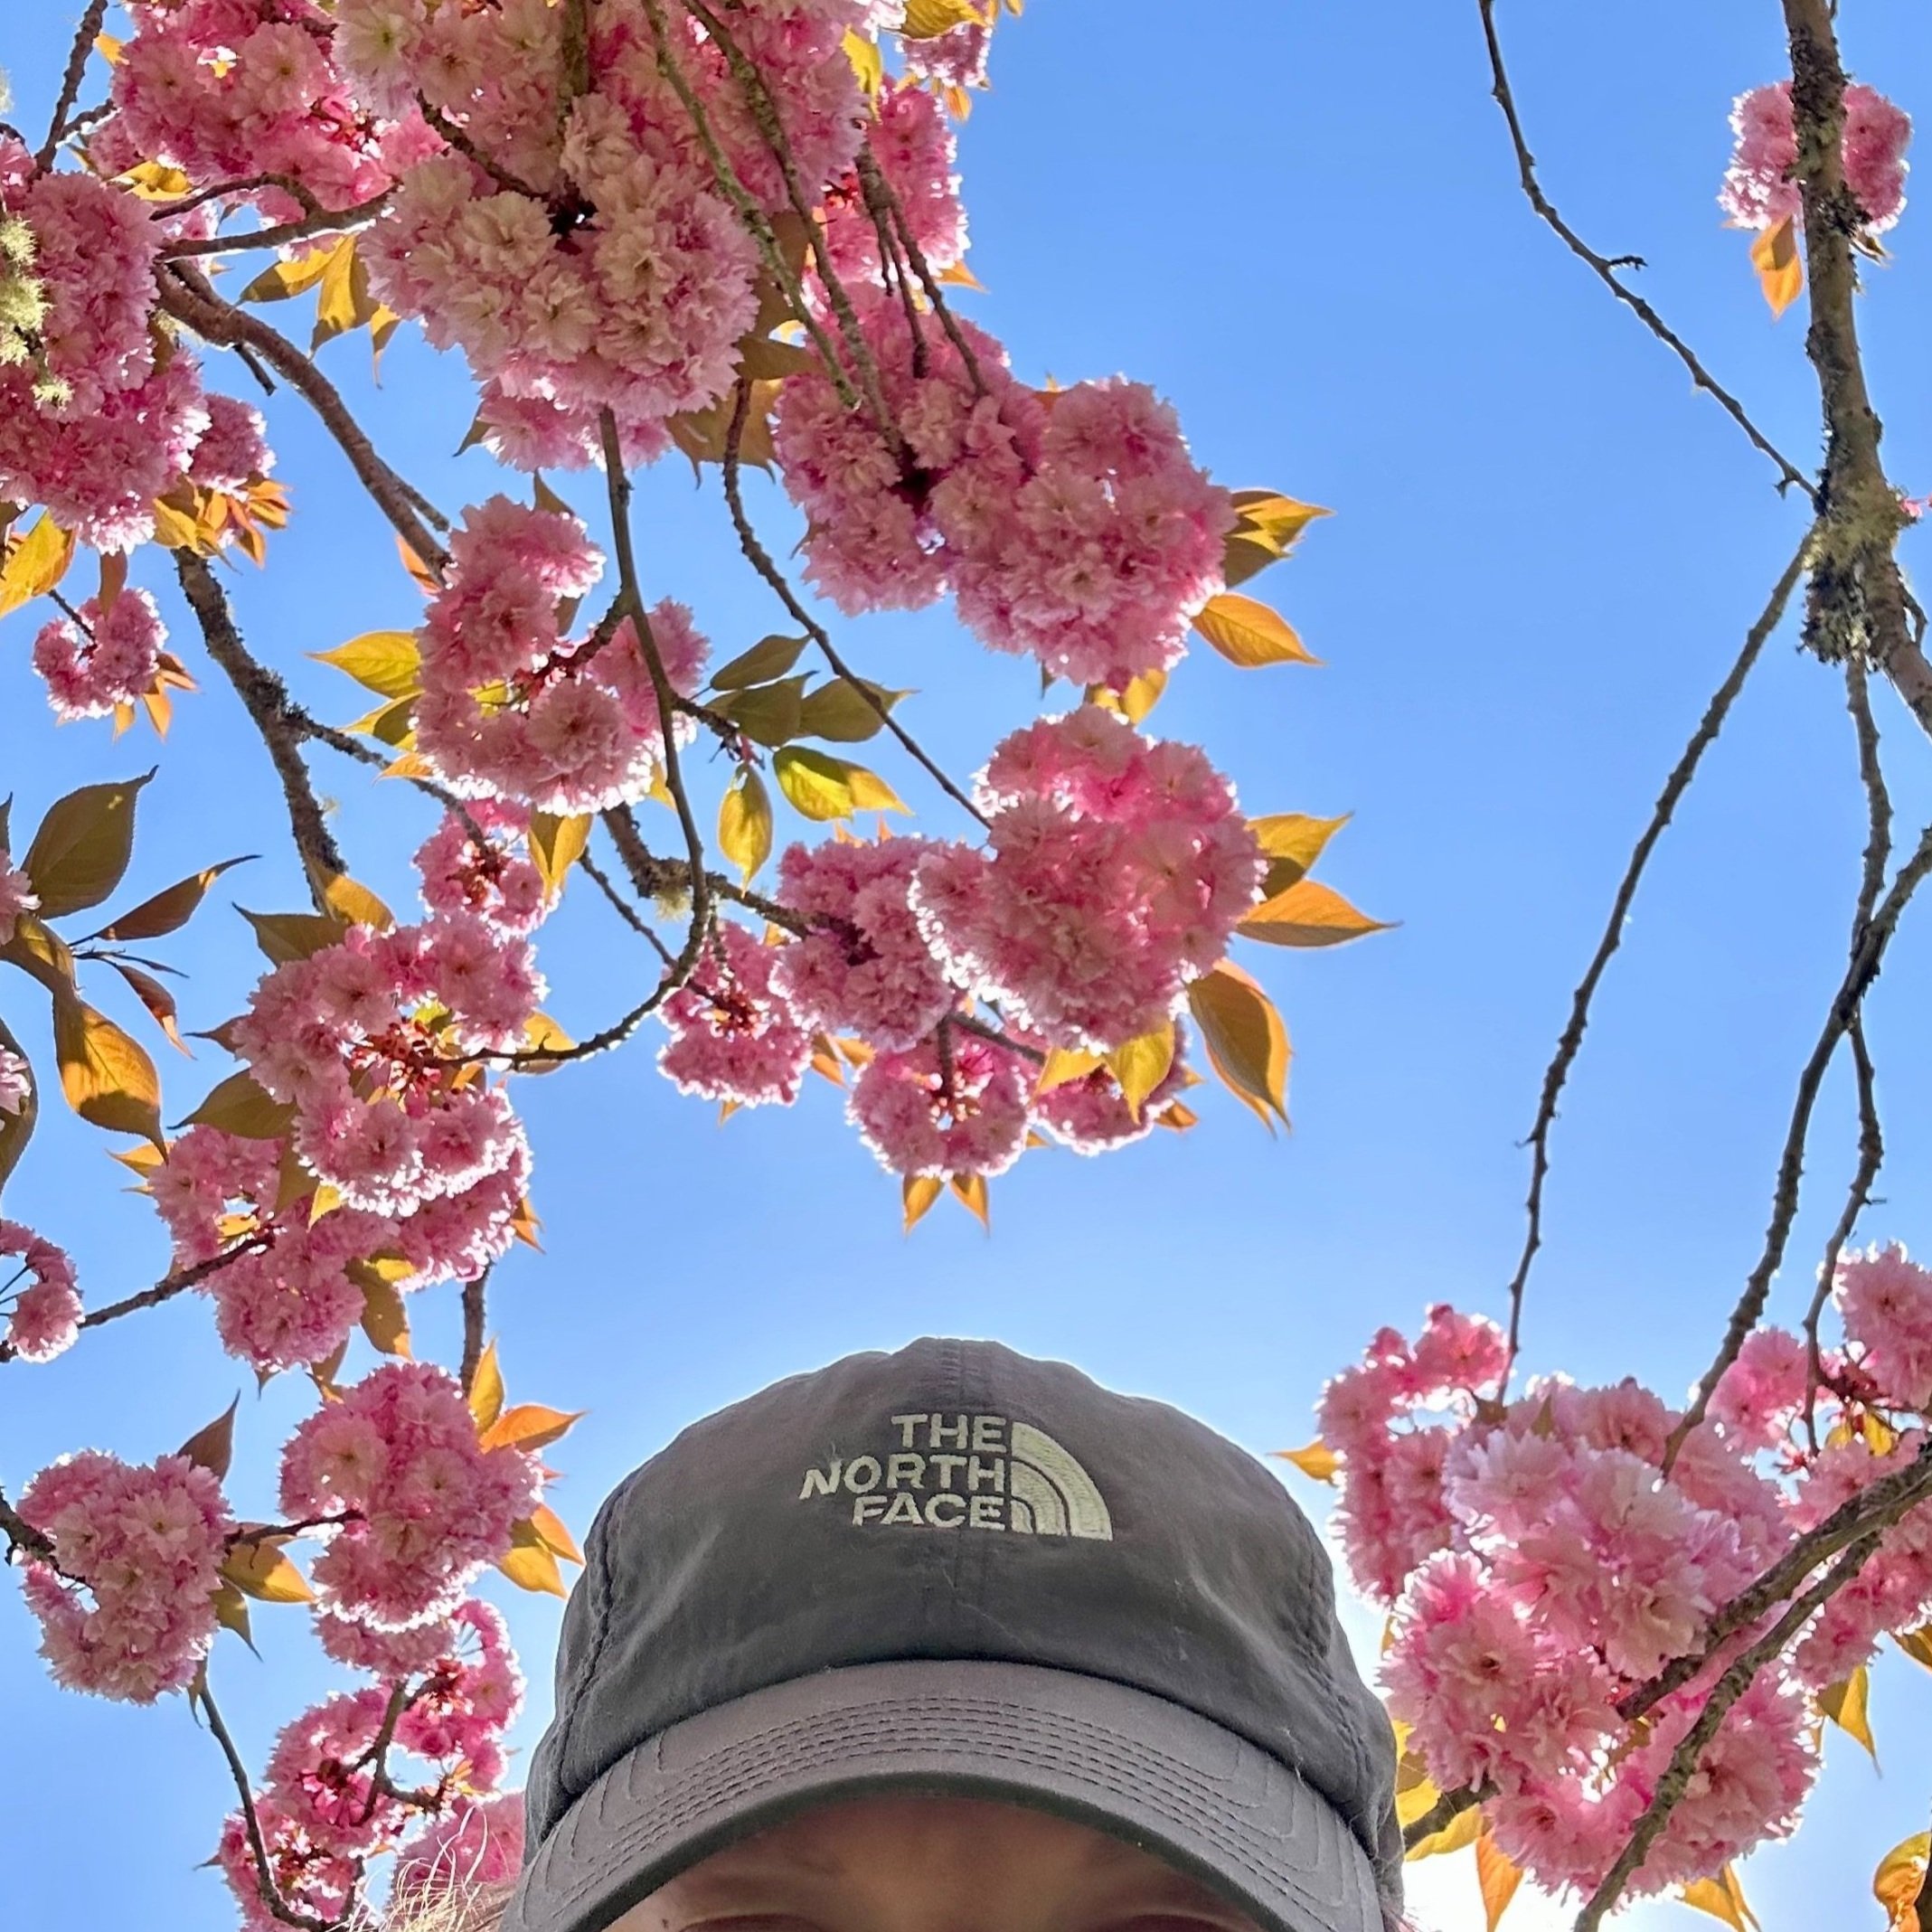
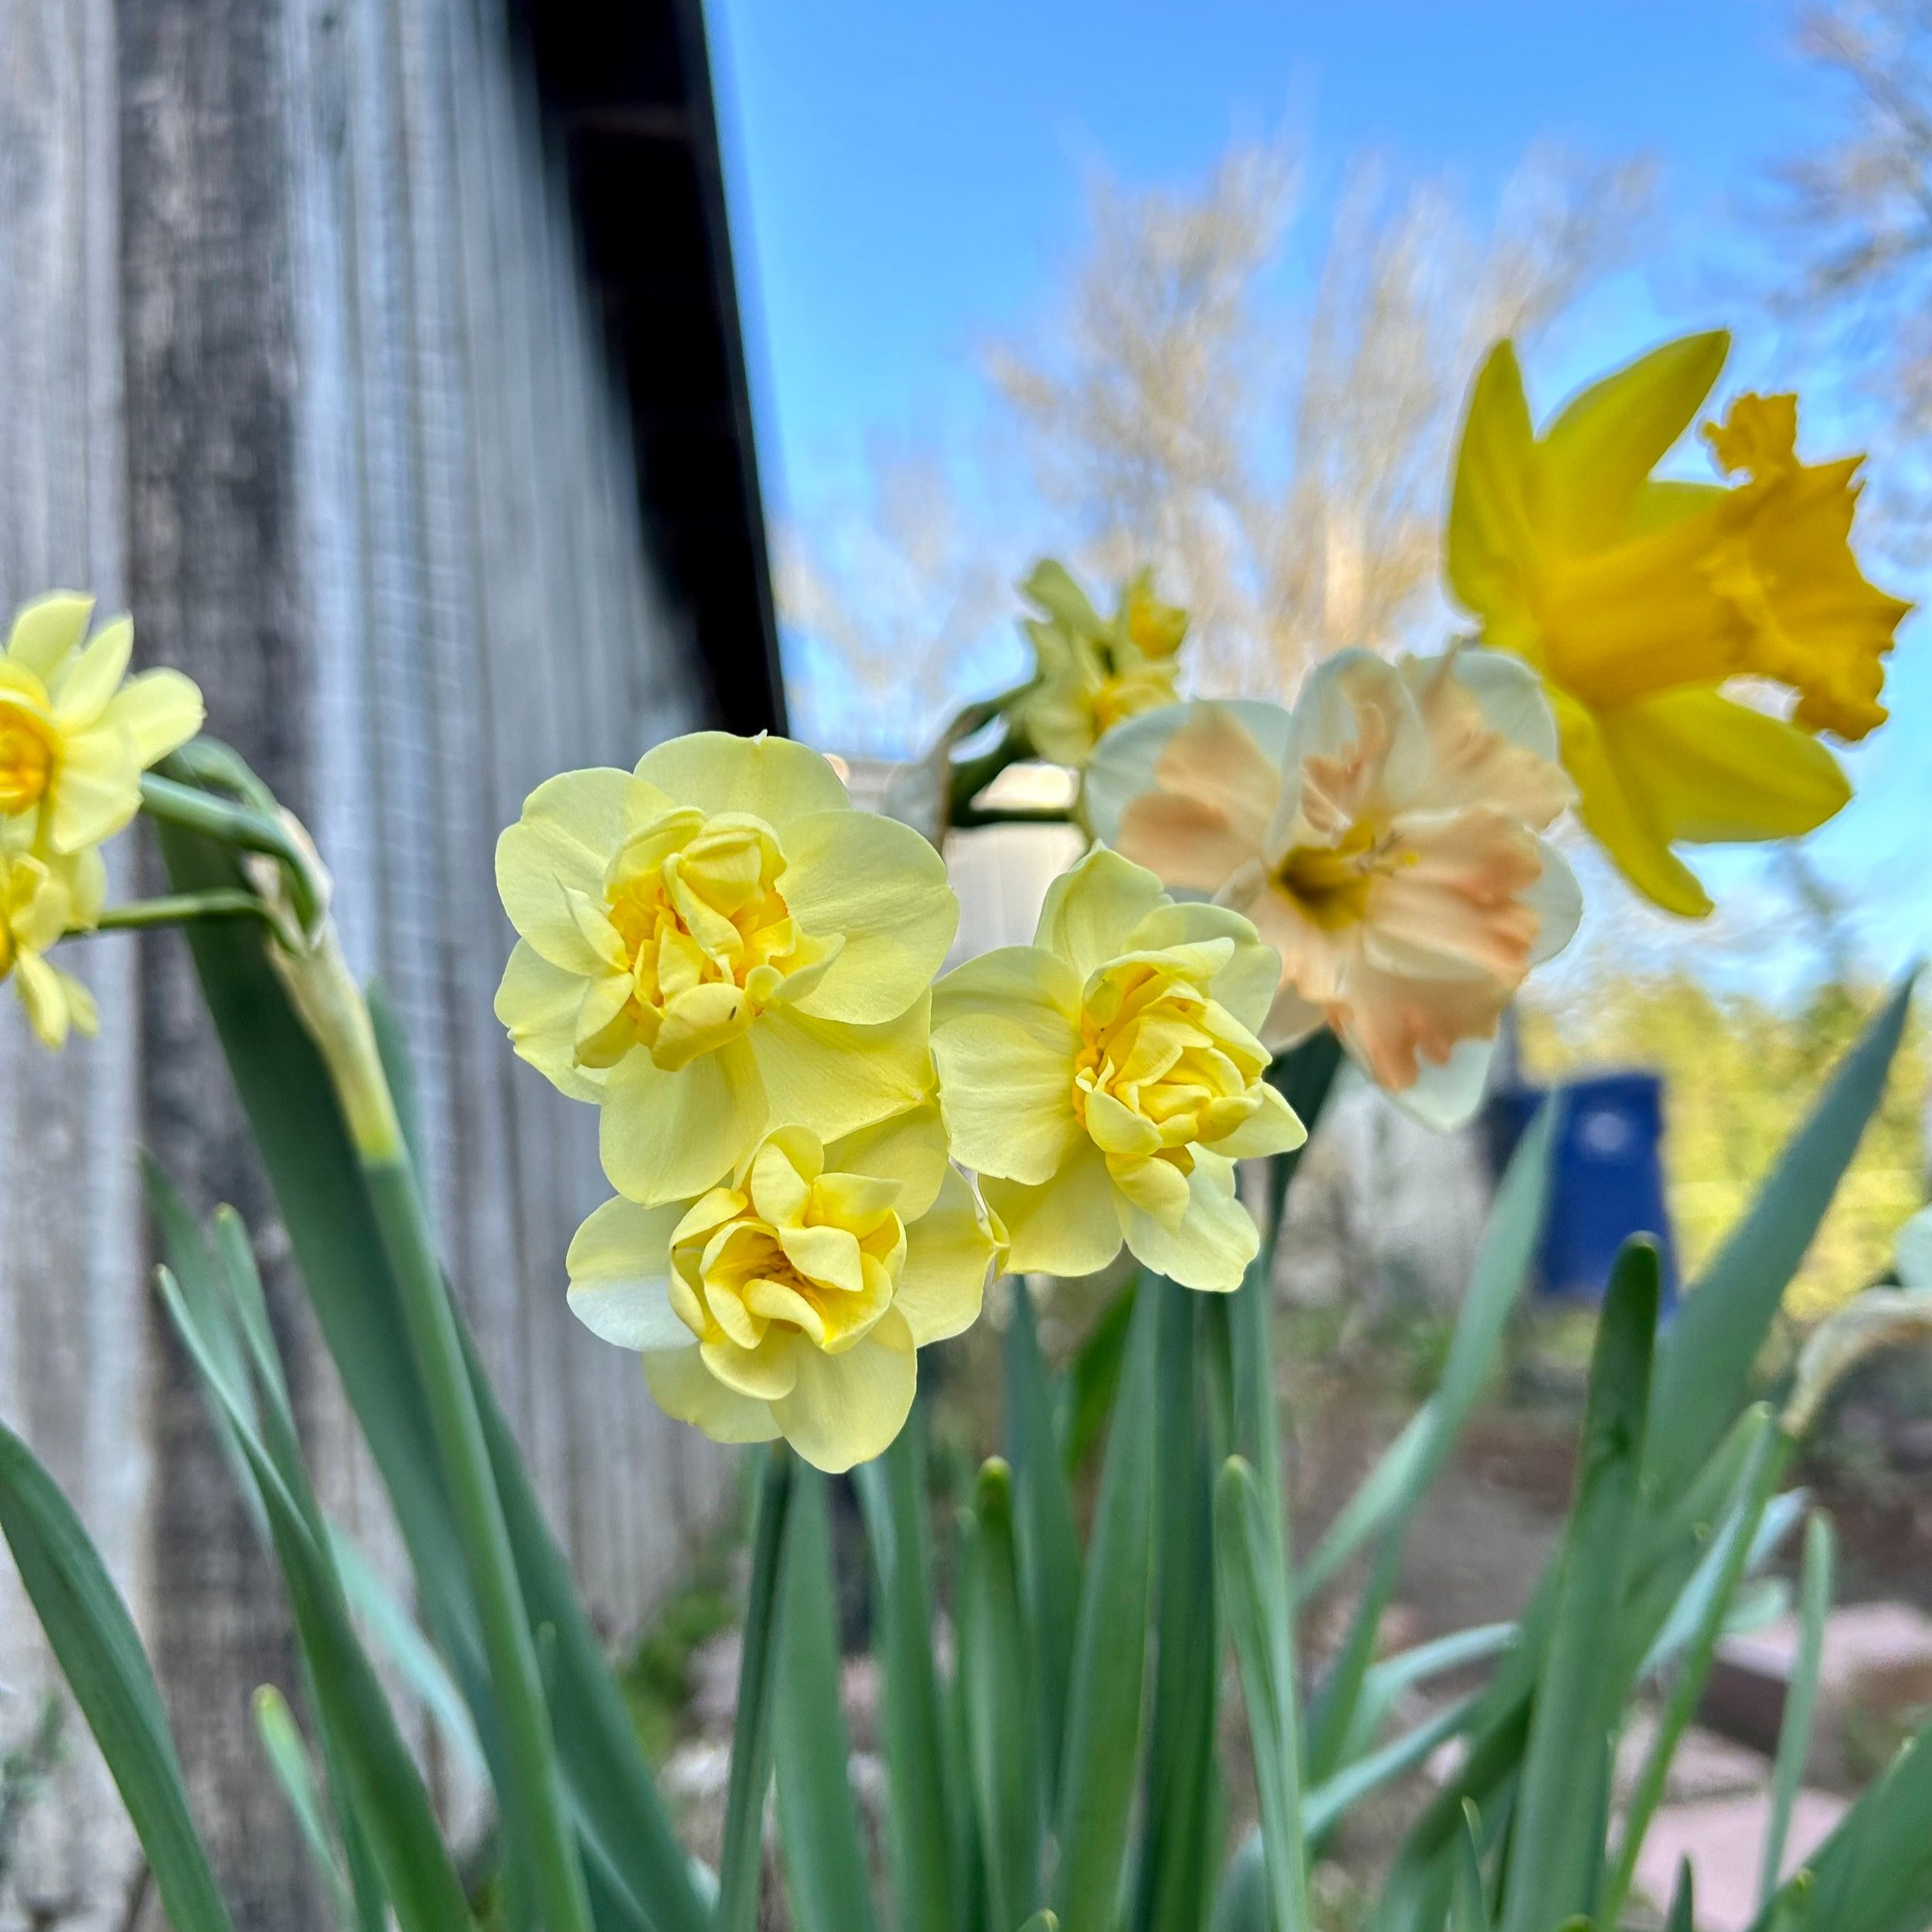
Spring is the time for gradual transitions. The days are getting longer and the earth is starting to come alive again. This time of year always brings excitement, and a bit of relief after the long Winters we have here in the Pacific Northwest. The flowering trees are starting to bud, some cherry blossoms are even in full bloom. My daffodils have started to bloom, the perennials are beginning to show growth, the birds are singing again. It’s all so refreshing. For me, Spring also serves as a good reminder of the ebbs and flows within a single year, and that change can often be good. With this new season though, there is A LOT of work to be done for flower farmers.
Now that the majority of the seeds have been started inside, I can focus on prepping the field for transplanting, direct seed sowing, and dahlia tubers! The first thing you always want to do before transplanting is, make sure your soil is in good condition. I broad forked and spread compost on my field back in the Fall and then covered the whole field with tarps in an effort to make things a bit easier for myself come Spring (shout out to past me). This work can also be done in the Spring, for me it’s about scheduling. I have more time in October and November to tend to the soil, whereas in April and May my to do list feels never ending! A goal of mine going into this season is to learn how to be more efficient with my time, learn when the best time to do each task is and what is the best process to do that. I’ll then use what I learn to create an annual checklist, with lists for each month to help keep me on track, and to help me find more of a balance throughout the entire calendar year. Check back in December for more on this!

Anyways, back to field prep. Since my soil is in good shape, the first task on my list is to prep the sweet pea field. My sweet peas are going to be transplanted this week, so support for the sweet peas needs to be set up within the next few days. Sweet peas are a viny plant, they need something to latch onto and climb up. So, I will be putting 7ft T-posts down the center of the row and then attaching net fencing to each T-post to create a wall down the row for the plants to climb up and thrive. The benefit to putting this in the center of the row is you can then put plant starts on both sides of the wall and fully utilized the net support.
I will also be pinching all of my sweet pea starts. Pinching is when you cut the main stem of a plant, just above a node, once the plant has 2-3 leaf nodes (usually around 6 inches tall). The purpose of pinching is to force the plant to produce more lateral stems, and therefore more flowers. It can be a bit nerve-wracking to cut the stem of the seedling you worked so hard to start, but trust me it works and is worth it!
There are several flowers that benefit from pinching including sweet peas, dahlias, snapdragons, zinnias, amaranth, delphinium, cosmos, calendula, and more! Basically, any “bushy” plant. Pinching can be done before or after transplanting the starts into the ground, but don’t wait too long, you want the lateral stems to start earlier than later.

Once the sweet peas have been transferred and pinched, I’ll shift my focus to dahlias! The other major task I’ll be doing this month is putting my dahlia tubers in the ground! Since the last frost date is so early this year (April 7), April should be plenty warm for the tubers. I overwintered most of my dahlias from last season (more on how to do this in the Fall), plus I placed an order with Willow & Mabel Garden Co. this year which I am SO excited about. Last season, I harvested dahlias at the Willow & Mabel farm, and I was able to create a list of all of my favorites while harvesting. This season, I was lucky enough to get almost every dahlia on that list and can’t wait to have them in my own field!
Once I have all of my tubers for the season, it’s time to put them into the ground. Dahlias need full sun, so you first want to make sure the spot you choose gets at least 8 hours of sun each day. Once you’re ready to plant you will need to dig a hole about 6 inches deep for each tuber. The holes should be about 12 inches a part. I like to dig all of the holes first, then place each tuber on its side in the holes so I don’t lose track of where I am and accidentally bury tubers too close together, or waste any space.
If I have a large amount of the same dahlia variety then I will put two tubers in a hole, incase one of them doesn’t take, but usually one tuber per hole is ok, as long as it has an eye. The eye is the growth point on each tuber, where it will sprout an create your dahlia plant. When placing the tubers in the holes, be sure that you find the eye on the tuber and face it upwards so it shoots up an out of the ground. Once the tubers are placed, fill each hole with dirt and then we wait. When waiting for your dahlias, be sure to wait to water the tubers until you can see the stock sprouting above ground. If you water too much too soon, it can cause the tubers to rot which means no dahlias.
My last piece of news to share this month is, Beverly Blooms is expanding to Bellingham! I will be moving to the Bellingham area and am so excited for this new adventure. I can’t wait to share my flowers with this new community, and I’m so happy that I’m able to continue to share them with my Kitsap community. It’s going to be a big transition season for me as I figure out this new home and new services but it’s a transition that will lead to so many great things. This news also means that all services are now available to Whatcom County, including CSA subscriptions! For all the updates and news about this change, follow along on Instagram.
Next month I will be transplanting all of the annuals that I started the last couple of months and setting up support on the remaining rows for said annuals. Stay tuned as we get closer to Summertime and increasingly busier!
Chase